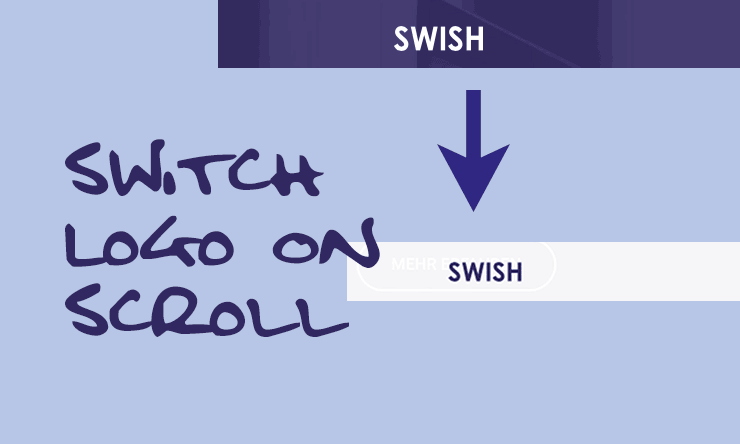
In this tutorial I would like to show you how to use a second logo with the Divi theme. Why would you do that, you might ask yourself? Now let’s assume you use a transparent navigation bar because you want your background image to be visible in its entirety. When scrolling down, however, a full color bar is advantageous, otherwise the menu items of the navigation bar will be “mixed” with the content of the website. In the example below, the menu bar turns white after scrolling, so that a white logo would not be visible. Therefore a second logo was implemented, which stands out from the navigation bar in terms of colour.
The example was filmed from the start page of a web design agency from Osnabrück:


Use different logos with Divi
Okay, let’s get started.
First you have to add your second logo to the media.
You can do this under Media > Add file
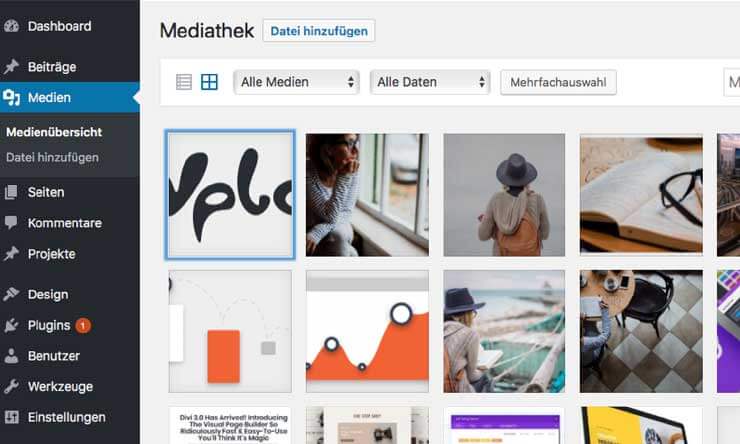

2. now we need the URL of the second logo. You can get this by clicking on the image. Copy the URL, because we need it right away.
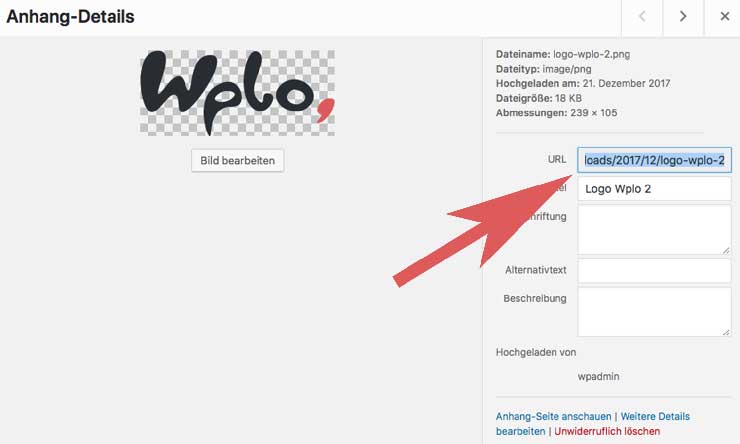

CSS to change the logo
Now we have to place some CSS code in our Child Theme or the Theme Customizer. <Don’t forget to replace the placeholder with your URL. After publishing, the logo should change when scrolling down.
e.g;
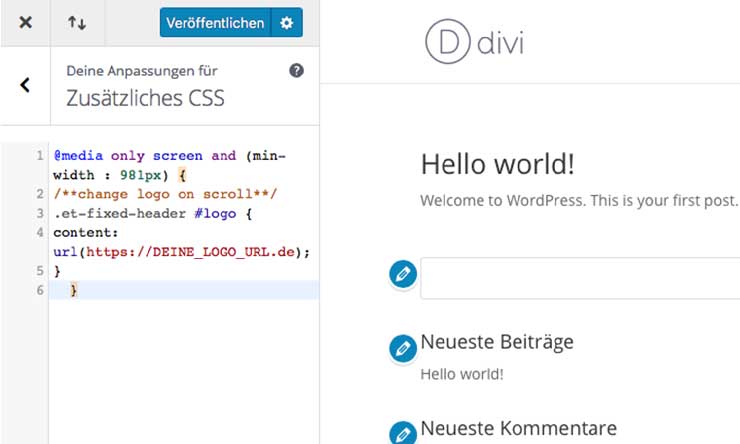

If you want the second logo to change only on desktop computers, use the following snippet:
@media only screen and (min-width : 981px) {
/**change logo on scroll**/
.et-fixed-header #logo {
content: url(DEINE_LOGO_URL);
}
}
If you want the logos to switch to all devices, the following snippet is useful:
/**change logo on scroll**/
.et-fixed-header #logo {
content: url(DEINE_LOGO_URL);
}
Questions?
Suggestions for improvement or suggestions for further articles? Then use the comment function below this post!
We can also do the tutorial for you. Make a request for this




Comments